Siding Nailer Rental: A Comprehensive Guide
Siding Nailer Rental Market Overview
The siding nailer rental market is a dynamic segment within the broader construction equipment rental industry. It caters to both professional contractors undertaking large-scale siding projects and DIY homeowners tackling smaller renovations. The market’s health is directly tied to the overall construction industry’s performance and the prevalence of home improvement activities.The demand for siding nailer rentals fluctuates seasonally, peaking during warmer months when exterior work is more feasible.
Economic factors, such as interest rates and housing starts, also significantly impact the market’s growth. Furthermore, technological advancements in nailer design, including features like improved ergonomics and increased power, influence both rental rates and consumer preferences.
Key Players in the Siding Nailer Rental Industry
Major players in the siding nailer rental market are typically large equipment rental companies with extensive nationwide or regional networks. These companies often offer a wide range of tools and equipment, including various models of siding nailers. Smaller, local rental businesses also play a significant role, catering to more localized demand and often offering more personalized service.
Examples of large players include national rental chains like Home Depot’s tool rental program and other major equipment rental companies operating across multiple states. The competitive landscape is characterized by varying rental pricing strategies, service offerings, and equipment availability.
Factors Influencing Demand for Siding Nailer Rentals
Several factors influence the demand for siding nailer rentals. The most prominent is the overall health of the construction industry. A robust housing market and increased commercial construction activity directly translate into higher demand for siding installation, and consequently, siding nailer rentals.
Conversely, economic downturns or periods of reduced construction activity can lead to decreased demand. Additionally, the seasonality of exterior work plays a significant role, with rental demand typically higher during spring and summer months. Finally, the increasing popularity of DIY home improvement projects contributes to the demand, as homeowners often opt to rent specialized tools rather than purchase them for one-time use.
Rental Costs of Different Siding Nailer Models
The rental cost of siding nailers varies significantly depending on the model, rental duration, and the rental company. Higher-end models with advanced features typically command higher rental rates. Below is a sample comparison of rental costs, keeping in mind that these prices can fluctuate based on location and time of year.
It’s crucial to contact your local rental provider for the most accurate and up-to-date pricing.
| Model | Rental Cost Per Day | Rental Cost Per Week | Deposit Required |
|---|---|---|---|
| Senco SN60 | $30
|
$150
|
$100
|
| Paslode IM65 | $35
|
$175
|
$125
|
| Hitachi NR83A5 | $25
|
$125
|
$75
|
| Generic Brand Model X | $20
|
$100
|
$50
|
Types of Siding Nailers Available for Rent
Choosing the right siding nailer can significantly impact the efficiency and quality of your project. Understanding the different types available for rent is crucial for selecting the best tool for your specific needs. This section details the various options, highlighting their features and benefits to aid in your decision-making process.
Pneumatic Siding Nailers
Pneumatic siding nailers are powered by compressed air delivered through an air hose connected to an air compressor. They are known for their consistent power and high-speed nailing capabilities, making them ideal for large-scale siding projects. The consistent power ensures deep penetration and secure fastening, even in harder woods.
However, they require an external air compressor, adding to the overall setup and potentially limiting mobility on the job site. The need for an air compressor also increases the initial investment.
Cordless Siding Nailers
Cordless siding nailers offer a significant advantage in terms of portability and maneuverability. Free from the constraints of air hoses and compressors, they provide greater freedom of movement, particularly beneficial for working on scaffolding or in confined spaces. Battery-powered models offer convenience, but their power may be slightly less consistent than pneumatic nailers, and battery life can be a limiting factor on very large projects.
Regular battery charging is necessary to maintain productivity.
Coil Siding Nailers, Siding nailer rental
Coil siding nailers use a coil of nails, offering a significant advantage in terms of speed and efficiency. The continuous feed system minimizes downtime for reloading, allowing for uninterrupted work. This feature is particularly beneficial for large projects where speed is paramount.
However, coil nailers typically require more maintenance than other types, and the coils themselves can be more expensive than strip nails. The larger size and weight of coil nailers can also be a consideration.
Strip Siding Nailers
Strip siding nailers utilize strips of nails, offering a balance between convenience and cost-effectiveness. They are generally lighter and more compact than coil nailers, making them easier to handle and maneuver. The strips are relatively inexpensive and easy to replace, reducing downtime.
However, the capacity of a strip is lower than a coil, leading to more frequent reloading compared to coil nailers. This can slightly reduce overall speed for very large projects.
Comparison Table of Common Siding Nailer Rental Models
| Model | Nail Type | Power Source | Weight (approx.) | Features |
|---|---|---|---|---|
| Senco SN325 | 3/4″ to 2-1/2″ | Pneumatic | 7 lbs | Adjustable depth of drive, lightweight design |
| Hitachi NT50AE2 | 1-1/4″ to 2-1/2″ | Pneumatic | 8 lbs | Lightweight, ergonomic design, tool-free depth adjustment |
| Paslode IM350Li | 1-1/4″ to 2-1/2″ | Cordless | 6 lbs | Lithium-ion battery, lightweight, quick reloading |
| Makita AF505N | 1-1/4″ to 2-1/2″ | Pneumatic | 6.6 lbs | Lightweight, quick reloading, rubber grip |
Rental Process and Considerations
Renting a siding nailer is a straightforward process that can significantly reduce the cost and hassle of completing a siding project. Understanding the steps involved, factors to consider when choosing a rental provider, and necessary safety precautions will ensure a smooth and safe experience.
Steps Involved in Renting a Siding Nailer
The typical rental process usually begins with contacting a rental provider, either in person, by phone, or online. You will need to provide information about the project, including the estimated duration and the type of siding you’ll be installing.
The provider will then confirm equipment availability and provide a quote, including rental fees and any applicable insurance or damage waivers. Once you agree to the terms, you’ll need to provide identification and possibly a credit card or other form of payment.
Upon picking up the equipment, a brief inspection is usually conducted to ensure the nailer is in good working order and you understand its operation.
Factors to Consider When Choosing a Rental Provider
Selecting the right rental provider is crucial for a successful project. Location is a key factor; choosing a provider close to your project site minimizes transportation time and costs. Pricing should be compared across multiple providers to ensure you’re getting a competitive rate.
It’s also essential to inquire about the condition of the equipment; a well-maintained nailer will function efficiently and minimize the risk of malfunctions. Finally, consider whether the rental provider offers insurance or damage waivers. This coverage protects you from unexpected repair or replacement costs in case of accidental damage to the equipment.
For example, a provider offering a comprehensive insurance package that covers accidental damage might cost slightly more upfront but offers significant peace of mind.
Safety Precautions and Procedures for Using a Siding Nailer
Safety is paramount when operating power tools. Before using the siding nailer, carefully read the manufacturer’s instructions and familiarize yourself with all safety features. Always wear appropriate safety gear, including eye protection, hearing protection, and work gloves. Ensure the work area is well-lit and free of obstructions.
Maintain a firm grip on the nailer and avoid pointing it at yourself or others. Regularly inspect the nailer for any signs of damage or malfunction. If you notice any issues, immediately stop using the tool and contact the rental provider.
Never operate the nailer while fatigued or under the influence of drugs or alcohol. Proper training or prior experience using similar tools is highly recommended. For instance, familiarity with the operation of pneumatic tools is beneficial before attempting to operate a pneumatic siding nailer.
Returning Rented Equipment
Returning the rented equipment is typically a straightforward process. Begin by carefully cleaning the nailer and removing any debris. Inspect the equipment for any damage incurred during use and report any issues to the rental provider. Return the nailer to the designated location and complete the necessary paperwork.
Confirm that the provider has inspected the returned equipment and that the rental agreement has been finalized. This ensures a clear understanding of any charges and prevents any disputes regarding the condition of the returned equipment. A clear record of the return process, including a signed receipt or confirmation email, serves as crucial documentation.
Siding Nailer Maintenance and Troubleshooting
Proper maintenance and troubleshooting are crucial for ensuring the efficient and safe operation of a rented siding nailer. Neglecting these aspects can lead to malfunctions, delays in your project, and potentially even injury. This section will guide you through essential maintenance tasks and common troubleshooting steps.
Common Siding Nailer Maintenance Tasks
Regular maintenance significantly extends the lifespan of your siding nailer and minimizes the risk of malfunctions. These tasks should be performed before and after each use, as well as at the end of the rental period.
- Inspection:Carefully examine the nailer for any visible damage, such as cracks, bends, or loose parts. Pay close attention to the drive mechanism, the nose piece, and the safety features.
- Cleaning:Remove any debris, such as sawdust, staples, or nails, from the nailer’s interior and exterior. Compressed air is effective for this purpose. Ensure all moving parts are free from obstructions.
- Lubrication:Apply a small amount of high-quality nailer lubricant to the moving parts, such as the piston and trigger mechanism. Avoid over-lubrication, as excess lubricant can attract debris.
- Depth Adjustment:Check and adjust the depth of drive setting to ensure nails are properly driven into the siding without damaging the material. Consult your rental agreement or the manufacturer’s instructions for proper adjustment procedures.
Troubleshooting Common Siding Nailer Problems
Even with proper maintenance, problems can still occur. Understanding how to troubleshoot common issues will save you time and frustration.
Jammed Nailer Troubleshooting
A jammed nailer is a common problem. This usually involves a nail becoming stuck in the nailer’s mechanism, preventing further operation. The following steps should be followed to resolve this:
- Safety First:Disconnect the air compressor and ensure the nailer is unloaded before attempting any repairs.
- Visual Inspection:Carefully inspect the nailer’s nose piece and internal components to locate the jammed nail. A flashlight may be helpful.
- Removal:Use a punch or a similar tool to carefully remove the jammed nail. Avoid damaging the nailer’s internal components during this process. If the nail is difficult to remove, seek assistance from the rental company.
- Re-inspection:After removing the nail, carefully re-inspect the nailer to ensure no other obstructions remain.
- Test Operation:Once the obstruction is removed, test the nailer’s operation with a few nails to confirm it is functioning correctly.
Cleaning and Lubricating a Siding Nailer: A Step-by-Step Guide
Regular cleaning and lubrication are vital for optimal performance and longevity.
- Disconnect Air Supply:Always disconnect the air compressor before beginning any maintenance.
- Remove Debris:Use compressed air to thoroughly remove sawdust, staples, and other debris from the nailer’s interior and exterior. Pay particular attention to the nose piece and the drive mechanism.
- Apply Lubricant:Apply a small amount of high-quality nailer lubricant to the moving parts, such as the piston and trigger mechanism. Avoid over-lubrication.
- Wipe Excess Lubricant:Wipe away any excess lubricant to prevent attracting dirt and debris.
- Reassemble:Reassemble any parts that were removed for cleaning or lubrication.
- Test Operation:Test the nailer’s operation to ensure it functions correctly after cleaning and lubrication.
Troubleshooting Flowchart for a Jammed Siding Nailer
The following flowchart visually represents the steps to troubleshoot a jammed siding nailer:(Note: A textual representation of a flowchart is difficult to create effectively in plain HTML. A visual flowchart would be more appropriate, showing a series of decision points and actions, starting with “Nailer Jammed?” and branching to “Safety Check”, “Visual Inspection”, “Nail Removal”, “Re-Inspection”, and finally, “Test Operation” with appropriate yes/no decision points linking the steps.)
Illustrative Examples of Siding Nailer Use
Renting a siding nailer significantly speeds up the siding installation process, offering efficiency and a professional finish. Understanding the proper techniques for different siding materials is crucial for a successful project. This section will detail the process of installing vinyl siding and highlight the variations required for other materials like wood, metal, and fiber cement.
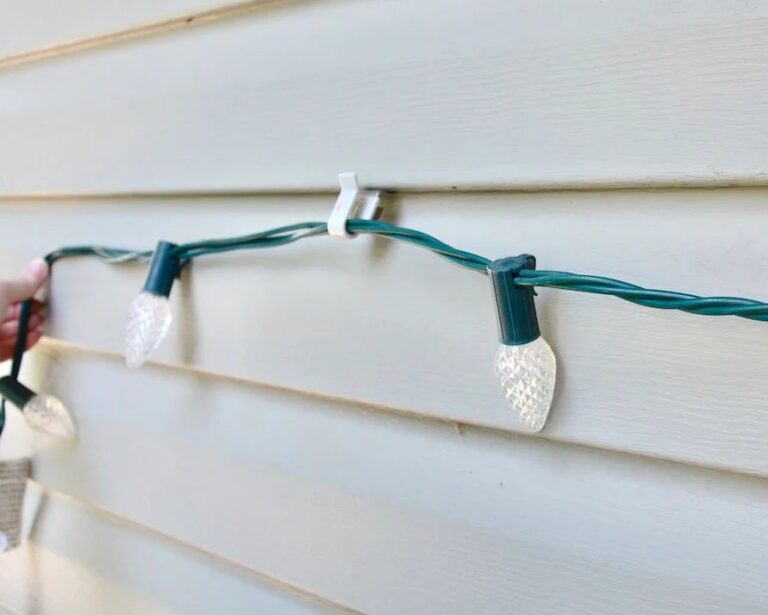
Vinyl Siding Installation with a Siding Nailer
Installing vinyl siding with a pneumatic siding nailer involves several key steps. First, ensure the underlying sheathing is properly prepared and any necessary flashing is in place. Begin at a corner or edge, aligning the first piece of siding with the starting point.
Use a level to ensure a straight and plumb installation. The nails should be driven into the nailing slots provided on the siding, typically located near the bottom edge of each panel. Avoid nailing too close to the edges to prevent splitting.
The nails should be driven just deep enough to secure the siding without damaging it. Overdriving can lead to unsightly dimples or damage to the siding. The next piece of siding should overlap the previous one, ensuring a tight and weatherproof seal.
Continue this process, working your way across the wall, maintaining consistent spacing and alignment. Always wear safety glasses to protect your eyes from flying debris. Regularly check the alignment of the siding to ensure it remains straight and plumb throughout the installation.
A final inspection should be performed after the installation is complete to identify and correct any irregularities.
Siding Nailer Techniques for Different Siding Materials
The technique for using a siding nailer varies slightly depending on the siding material. Wood siding, being more substantial, may require slightly longer nails and potentially a more powerful nailer to achieve adequate penetration and secure fastening. Metal siding, on the other hand, requires careful nail placement to avoid puncturing the metal and creating leaks.
The nails should be driven with less force to prevent damage. Fiber cement siding, a strong and durable material, necessitates precise nail placement to prevent cracking. Using the correct nail length for the thickness of the siding is critical.
The nailer’s pressure settings might also need adjustment depending on the material’s density and thickness. Always consult the manufacturer’s instructions for both the nailer and the siding material for specific recommendations.
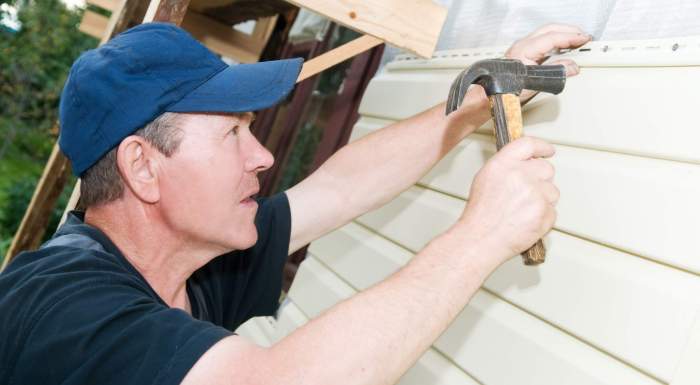
A Typical Siding Nailer Installation Project
A typical siding installation project using a rented siding nailer would involve the following tools and materials: a pneumatic siding nailer (rented), appropriate length nails for the siding material, a measuring tape, a level, a chalk line for marking, safety glasses, work gloves, a hammer (for occasional manual nailing), and potentially a pry bar for adjusting siding alignment.
Materials will, of course, include the siding itself, along with any necessary underlayment, flashing, and trim. The project would begin with the preparation of the wall, ensuring it is clean, dry, and free of any obstructions. Next, the installation process, as described for vinyl siding, would be followed, adapting the technique as needed based on the specific siding material.
After the installation, a final inspection is essential to ensure all panels are properly secured, aligned, and weathertight. Any necessary repairs or adjustments should be made at this stage.
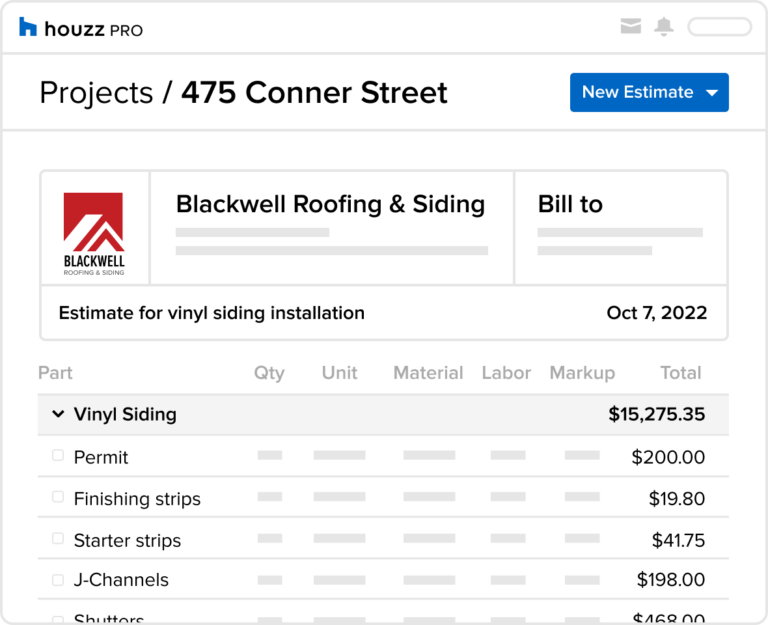
Cost Analysis of Siding Nailer Rental vs. Purchase
Choosing between renting and buying a siding nailer depends on several factors, primarily the project’s scope and your long-term needs. This analysis compares the total costs associated with each option to help you make an informed decision. We will examine various scenarios to illustrate the financial implications of each choice.
The decision to rent or buy a siding nailer hinges on the interplay between initial costs, usage frequency, and the overall project budget. Renting is typically more economical for smaller, one-time projects, while purchasing is often more cost-effective for larger projects or those requiring frequent use.
However, the initial investment in purchasing a nailer must be considered against the potential for future use.
Cost Comparison Scenarios
The following table compares the costs of renting versus buying a siding nailer for different project sizes and usage frequencies. These figures are estimates and may vary depending on location and specific equipment rental rates. We have considered both the rental cost, including potential additional fees like insurance or damage waivers, and the purchase price, encompassing the cost of the nailer itself.
Note that purchase cost also includes the eventual depreciation of the tool over time, and potential maintenance and repair expenses.
| Scenario | Rental Cost (Estimate) | Purchase Cost (Estimate) | Overall Cost Comparison |
|---|---|---|---|
| Small Project (100 sq ft siding) | $50
|
$200
|
Renting is significantly cheaper. |
| Medium Project (500 sq ft siding) | $150
|
$200
|
Renting may be slightly cheaper, depending on rental duration and additional fees. |
| Large Project (1000+ sq ft siding) | $300
|
$200
|
Purchasing is likely more economical in the long run, even considering potential maintenance. |
| Frequent Use (Professional Contractor) | Variable (significant ongoing costs) | $200
|
Purchasing offers substantial long-term cost savings. |
Summary

Renting a siding nailer presents a practical and often economical approach to siding installation projects of all sizes. By understanding the available options, the rental process, and the necessary safety precautions, you can confidently complete your project efficiently and effectively.
Remember to consider factors such as project scope, budget, and the frequency of future use when deciding between renting and purchasing. This guide aims to equip you with the necessary information to make informed decisions, ensuring a successful and safe siding installation experience.